If you’ve ever looked at a photo of pale, clean maple hardwood floors and then looked at your rental apartment’s scuffed laminate — you know the exact problem this article addresses. Peel-and-stick vinyl flooring (sometimes called self-adhesive luxury vinyl tile, or LVT) is exactly what it sounds like: thin vinyl planks or tiles with a factory-applied adhesive backing that you press directly onto your existing floor, no nails, no glue, no contractor required. The maple-look versions attempt to replicate the light, creamy tones and subtle grain of real hard maple, which is one of the most popular hardwood species in North American homes. The appeal is obvious — you can transform a room in an afternoon for a few hundred dollars instead of a few thousand.
But “maple-look” and “maple” are doing very different jobs in those sentences. This guide breaks down exactly what peel-and-stick vinyl delivers, where it falls short, and how to decide whether it belongs in your specific project — or whether you’re better off saving up for the real thing.
| EDITOR'S PICK[Allure Wide Plank Luxury Vinyl…](https://www.amazon.com/dp/B0D5F1JYNP?tag=greenflower20-20) | Mid-tierFunStick 6"x36" Peel and Stick… | Budget pick[Tivoli II Self Adhesive Vinyl F…](https://www.amazon.com/dp/B008E486F0?tag=greenflower20-20) | |
|---|---|---|---|
| Thickness | 7mm | — | — |
| Install method | Click+Lock | Peel+Stick | Peel+Stick |
| Waterproof | — | ✓ | — |
| Plank size | 9"x48" | 6"x36" | 6"x36" |
| Coverage | 20.06 sqft | — | — |
| Price | $73.99 | $11.99 | |
| See on Amazon → | See on Amazon → | See on Amazon → |
What You’re Actually Buying: The Product Anatomy
Before weighing trade-offs, it helps to understand what the product physically is, because “peel-and-stick vinyl” covers a huge range of quality levels.
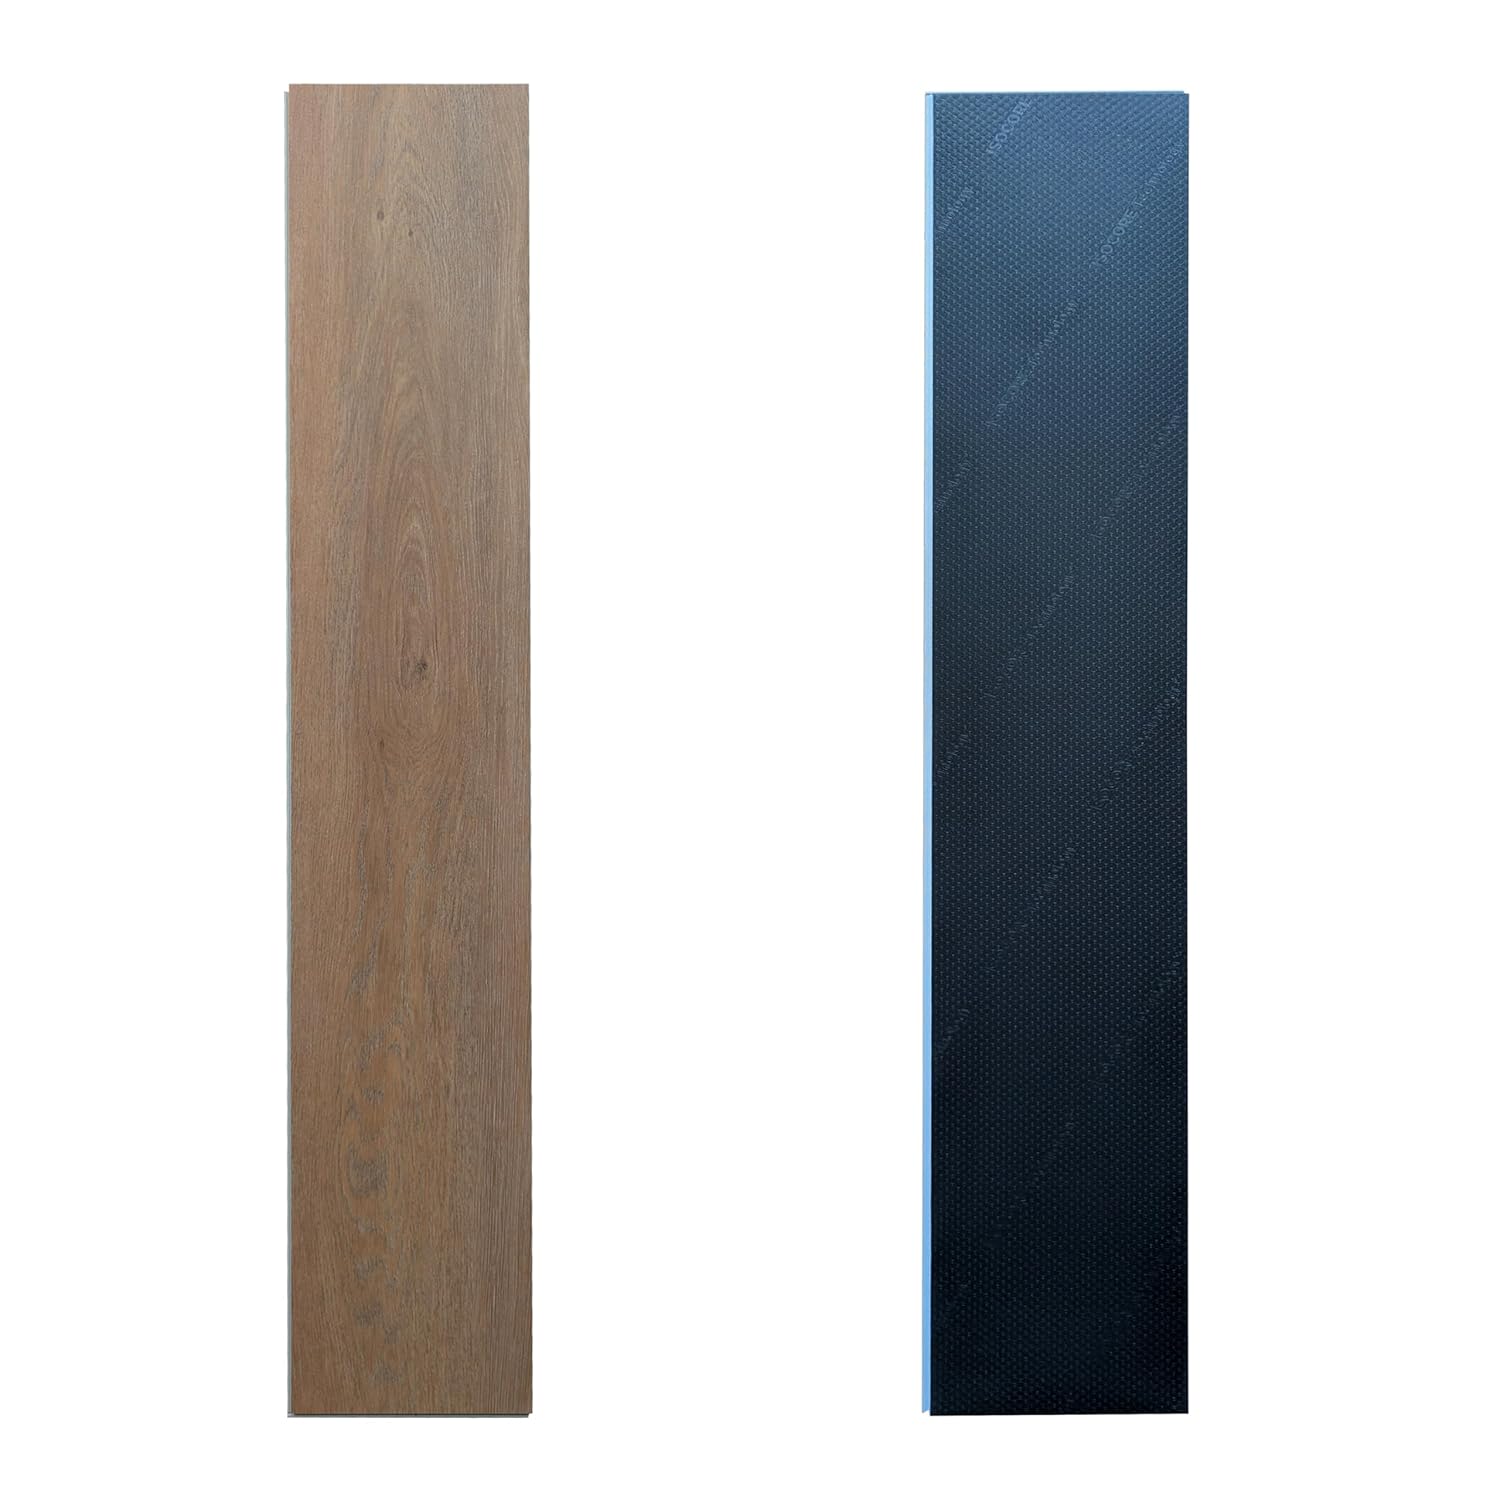
A standard peel-and-stick vinyl tile or plank has four layers:
- A wear layer — clear vinyl on top, measured in mils (thousandths of an inch). Budget tiles run 4–6 mil. Better options hit 8–12 mil. This number matters more than any marketing claim about “commercial grade.”
- A printed design layer — a high-resolution photographic print of wood grain. Maple-look versions typically reproduce the pale golden or cream tones and fine straight grain of hard maple.
- A vinyl core — the structural layer. Thinner budget tiles flex noticeably underfoot; better products feel more stable.
- A pressure-sensitive adhesive backing — the peel-and-stick mechanism. Quality varies wildly, and this is the layer that fails first.
The total product thickness typically ranges from 1.5 mm to 3 mm. For context, a real solid maple floor is 19 mm (¾ inch) thick. That difference isn’t just aesthetic — it affects how the floor feels, sounds, and performs under furniture.
The Spruce’s overview of peel-and-stick vinyl flooring notes that products under 2 mm tend to telegraph every imperfection in the subfloor beneath them, which means a bumpy or uneven base will show through the finished surface — a common frustration reviewers consistently flag in budget installations.
By the Numbers
| Peel-and-Stick Vinyl (budget) | Peel-and-Stick Vinyl (premium) | Engineered Maple (entry) | Solid Maple (mid-range) | |
|---|---|---|---|---|
| Material cost (per sq ft) | $0.50 – $1.50 | $1.50 – $3.00 | $2.00 – $6.00 | $6.00 – $12.00 |
| Installed cost (per sq ft) | $0.50 – $1.50 (DIY) | $1.50 – $3.00 (DIY) | $4.00 – $10.00 | $10.00 – $20.00+ |
| Wear layer | 4–6 mil | 8–12 mil | 6–20 mil | N/A (refinishable) |
| Refinishable? | No | No | Sometimes | Yes (3–5x) |
| Renter-safe removal? | Often, but not guaranteed | Often, with care | No | No |
Installed cost for peel-and-stick assumes DIY. Professional installation of real hardwood reflects 2025–2026 regional labor averages per Floor Covering Weekly’s 2025 resilient flooring market data.
The Real Trade-offs: Where Peel-and-Stick Earns Its Price (and Where It Doesn’t)
What It Gets Right
Cost and accessibility. This is the obvious win, and it’s not trivial. For a 200-square-foot bedroom, budget peel-and-stick runs $100–$300 in materials. Engineered maple at the Floor & Decor tier runs $400–$1,200 for the same room before installation. If your lease ends in 18 months, that math almost always favors vinyl.
DIY feasibility for most people. Unlike floating engineered floors — which require acclimation time, underlayment, spacers, and some comfort with power tools — peel-and-stick vinyl is genuinely accessible to renters without a tool collection. Bob Vila’s buyer’s guide to peel-and-stick tiles notes that most installations require only a tape measure, a utility knife, and a floor roller (or a rolling pin in a pinch). The learning curve is measured in hours, not weekends.
No permanent modification. Renters are often bound by lease clauses prohibiting permanent alterations. Properly installed peel-and-stick vinyl on a smooth, clean subfloor can typically be removed without damaging the surface below — though “typically” is doing real work in that sentence (more on this below).
Moisture resistance. Real maple has a well-documented weakness: it expands and contracts dramatically with humidity changes, and it can’t be installed below grade or in high-moisture areas. Vinyl doesn’t move with humidity. Apartment Therapy’s review of renter-friendly flooring consistently highlights this as a genuine advantage for basement apartments, first-floor units, and anywhere moisture is unpredictable.
What It Gets Wrong
Adhesive failure is the most common complaint. Across aggregated reviews on Apartment Therapy and The Spruce, the top failure mode isn’t wear — it’s edges lifting, especially in areas with temperature swings, near exterior doors, or in rooms that aren’t climate-controlled. Budget adhesive formulations are particularly prone to this. Once an edge lifts, it catches foot traffic and the tile or plank de-laminates progressively. Reviewers consistently report this starts at 6–18 months on budget products installed over anything less than a perfectly smooth, clean surface.
The visual gap is real and closes as budget increases. At 4–6 mil wear layers and 1.5 mm thickness, budget maple-look vinyl looks like vinyl. The grain pattern repeats visibly, the surface gloss is uniform in a way real wood never is, and there’s no variation in depth or texture. This is a subjective trade-off for spaces like laundry rooms or storage areas, but in a living room where guests will look closely, it reads as the budget solution it is.
Premium peel-and-stick products in the $2–3/sq ft range close this gap meaningfully. Some current-generation products use multi-layer printing with embossed texture synchronized to the grain image, and at 8–12 mil wear layers, they hold up to normal residential traffic for 5–8 years per manufacturer ratings. They still don’t feel like maple underfoot — the hollow sound and slight flex are giveaways — but they photograph reasonably well and hold up in everyday living.
Removal is not always clean. This is the hidden risk for renters. The phrase “renter-safe” implies easy removal and no subfloor damage — but real-world removals depend heavily on what’s underneath. Over vinyl composite tile (VCT), peel-and-stick often pulls up cleanly. Over original hardwood floors — which are common in older apartments — the adhesive can lift the finish or, worse, pull up the wood surface itself. The National Wood Flooring Association’s guidance on wood floor maintenance explicitly cautions against applying adhesive-backed products over finished hardwood without testing a small area first. If your apartment has real hardwood under a dated carpet or previous flooring, this is a serious risk to check before committing.
No path to refinishing. Real maple, even the budget solid grades, can be sanded and refinished 3–5 times over its lifespan. A 4-mil wear layer on vinyl has a fixed end-of-life — typically 5–10 years depending on traffic — after which the only option is replacement. For homeowners (not renters), this matters: refinishing 1,000 square feet of maple runs $1,500–$3,000; replacing vinyl flooring runs $500–$3,000+ depending on product tier. Over a 20-year horizon, real maple’s refinishability can make it the more economical choice even at higher upfront cost.
The Subfloor Problem (This Is the Part Most Reviews Skip)
Peel-and-stick vinyl is brutally honest about subfloor quality — it reports every problem to you through the finished surface. The industry standard for peel-and-stick installation is a floor that’s flat to within 3/16 inch over a 10-foot span with no high spots greater than 1/16 inch over 6 inches. The Spruce’s installation guide reiterates this tolerance, noting that any bump or dip will telegraph through the thin vinyl and become more visible — not less — over time as the vinyl conforms to the surface beneath it.
What this means practically:
- Old vinyl or linoleum in good condition: Generally fine. Sand down any seams flush.
- Plywood subfloor: Good, assuming it’s smooth and fastened down tightly.
- Concrete: Fine if level and dry. Any moisture transmission through the slab will destroy the adhesive over time.
- Existing hardwood floors: Workable on flat, well-fastened boards — but the wood grain and nail heads will telegraph through thinner tiles. And as noted above, removal risks are higher.
- Particleboard: Problematic. It moves with humidity, and that movement will break adhesive bonds.
If your subfloor needs serious remediation, the cost of floor-leveling compound or a self-leveling underlayment can easily erase the savings that made peel-and-stick attractive in the first place.
The Honest Decision Rule
Here’s the “if X, then Y” framework for making this call:
Peel-and-stick maple-look vinyl makes sense if:
- You’re a renter with 1–3 years remaining on a lease and your landlord hasn’t explicitly prohibited it
- You’re covering a low-traffic secondary space (laundry room, home office, basement) where the visual gap matters less
- Your subfloor is smooth concrete or well-maintained plywood
- Your budget is genuinely under $2/sq ft installed
- You’re willing to buy a product with at least an 8-mil wear layer and accept that it’s a 5–8 year solution, not a permanent one
Peel-and-stick is the wrong tool if:
- You’re a homeowner planning to sell in 3–7 years — buyers and appraisers will notice vinyl in a space where hardwood is expected
- Your apartment has original hardwood floors under existing flooring (the removal risk is too high)
- The room is a high-traffic main living space where the visual and tactile gap will bother you daily
- You’re hoping to match existing real maple floors elsewhere in the home — even premium vinyl reads differently than wood in side-by-side comparison
- You’re renovating a space you plan to keep for 10+ years — at that horizon, entry-level engineered maple at $4–6/sq ft installed pencils out better when refinishability and resale value are factored in
If you’re on the fence, ordering physical samples before committing is the fastest way to resolve the visual question. The gap between what photos promise and what vinyl delivers in person closes significantly at the premium tier — and widens at the budget end. Most manufacturers ship samples for $1–5 each, which is a small investment against a whole-room mistake.
The Bottom Line
Peel-and-stick maple-look vinyl is a legitimate tool with a specific job. It’s not a permanent flooring solution trying to impersonate real maple — it’s a temporary, accessible, affordable way to upgrade a space you don’t control or a room where full hardwood investment isn’t warranted. Used honestly in that role, with realistic expectations about adhesive longevity and visual fidelity, it delivers real value. Used as a substitute for the real thing in spaces where the real thing matters, it will disappoint you reliably.
The good news: the product tier gap between a $0.75/sq ft budget tile and a $2.50/sq ft premium tile is enormous, and the premium products are still cheap by flooring standards. If you’re going to do this, spend the extra dollar per square foot on wear layer and adhesive quality — it’s the part of this equation where the math actually favors the upgrade.